How Timber Veneers Are Made?
How Timber Veneers Are Made: A Step-By-Step Guide
In this blog today, we’ll be focusing on how timber veneers are made. In one of our earlier guides, our plywood specialists outlined the process of making plywood, detailing the process all the way from the lumber mill and straight to Cabinet Timbers. It’s important to note that producing timber veneers themselves requires an equally stringent production process of plywood sheets.
Stick with us as we take you through the expansive process of sourcing, treating, and finally cutting, clipping, and splicing timber veneers so that they’re ready for a wide range of different practical applications.
Article Contents On How Timber Veneers Are Made:
NEED WOOD PANELS?
No stress, we're here to help. Fill out the form below for a free quote and consultation with our experts.
Step 1 – Wood Harvesting and Classification
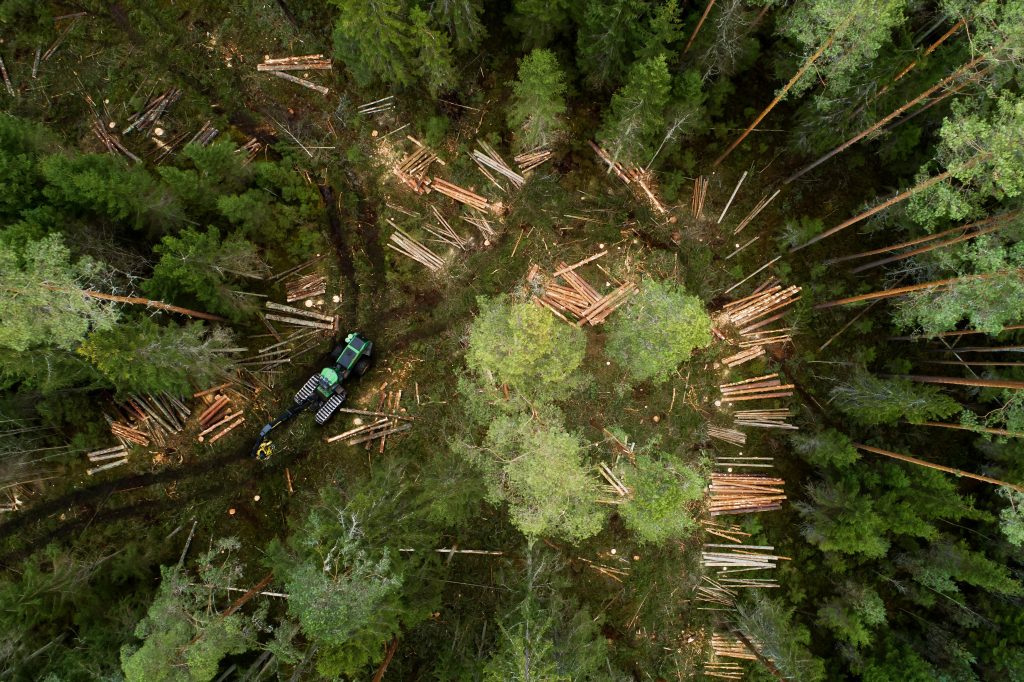
Similarly to how plywood is made, the first step in producing quality veneers is to naturally source some high-quality timber. Timber is generally harvested by loggers in timber plantations. Our wood panels available here at Cabinet Timbers actually follow a slightly different process here.
Instead of harvesting wood from plantations, all of our wood materials are sourced from sustainably managed forests. This is made possible by our partnerships with EWPAA-certified timber mills and manufacturers.
Upon harvesting the wooden materials that will be used to produce timber veneers, our sustainable suppliers will then categorise or ‘classify’ wood materials by their timber species. This is to ensure that all raw timber materials are stored in optimal conditions for that species. Raw timber materials are typically kept in good condition by soaking them in water. This prevents wood from degrading whilst it’s being transported from timber plantations to lumber mills.
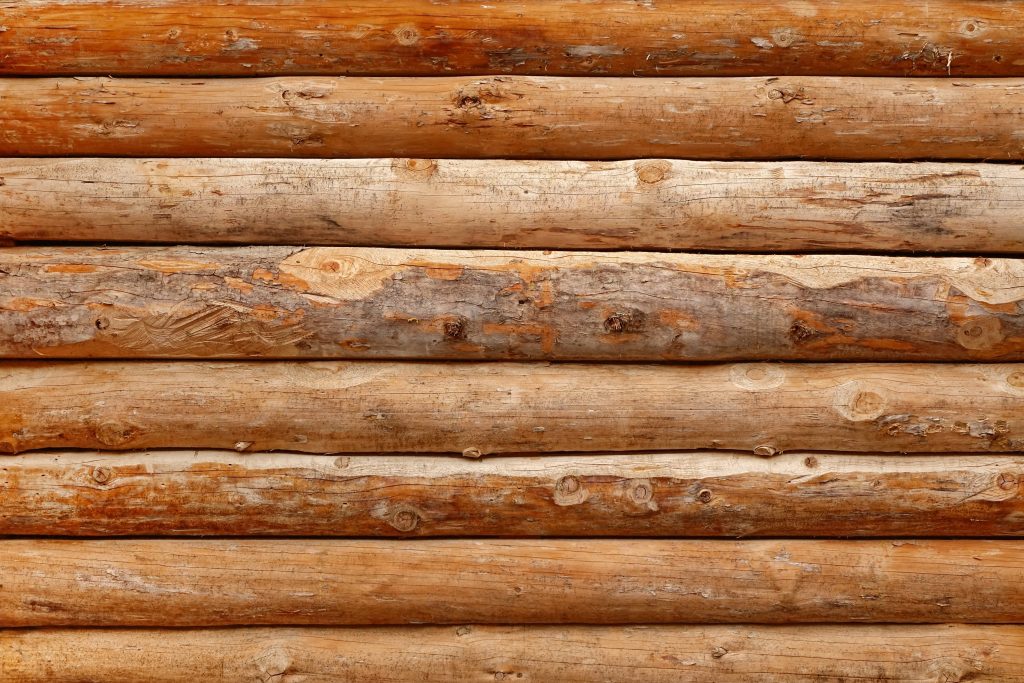
Step 2 – Debarking
Once your wood arrives at the mill, it’s finally time to start the process of producing timber veneers. This begins by processing your raw timber materials through a cutting machine and then a debarking machine. First, your wood logs are cut to uniform lengths. Then, a debarking machine will efficiently remove the outer layers of bark from your wood logs, leaving behind the inner layer and core of your raw timber.
At this stage, you will still want your panels to have plenty of moisture. This helps speed up the debarking process and reduces risks of wood materials splitting or cracking due to friction. As debarking machines typically use sharp-toothed grinding wheels or powerful water jets to remove bark from wood logs, it’s best that panels being processed at this stage are still high moisture to ensure that they respond well to the cutting and debarking treatment processes.
Step 3 – Softening
Once your wooden logs have been debarked, it’s time to increase their moisture content even further. This is primarily to prepare your wood panels for Step #4 – the cutting process. This is to ensure that saws or mill factory blades don’t snag on wood imperfections as they’re being processed. All it takes is one split or crack to ruin a log that’s otherwise perfectly primed to be used for timber veneer production.
Your processed wood logs are typically softened by storing them in a specialised steaming machine that’s able to maintain steam temperatures of around 80-100℃. Wood logs are stored in this steaming machine from anywhere between 1-3 days – until they’re ready to be transferred to the cutting process.
Step 4 - Cutting
Believe it or not, but wood logs must be cut within an hour of being taken out of the steaming machines used in Step #3. This is to ensure that your wood logs can maintain their adaptability, increasing the likelihood that they respond well to the cutting process, which can get quite specific from log to log.
At this point of the process, your panel classifications will help veneer manufacturers determine where logs should be cut, and how long their logs should be to accommodate the dimensions of their final veneer products. Logs are also usually cut into half or quarter pieces to accommodate Step #5 – the peeling process.
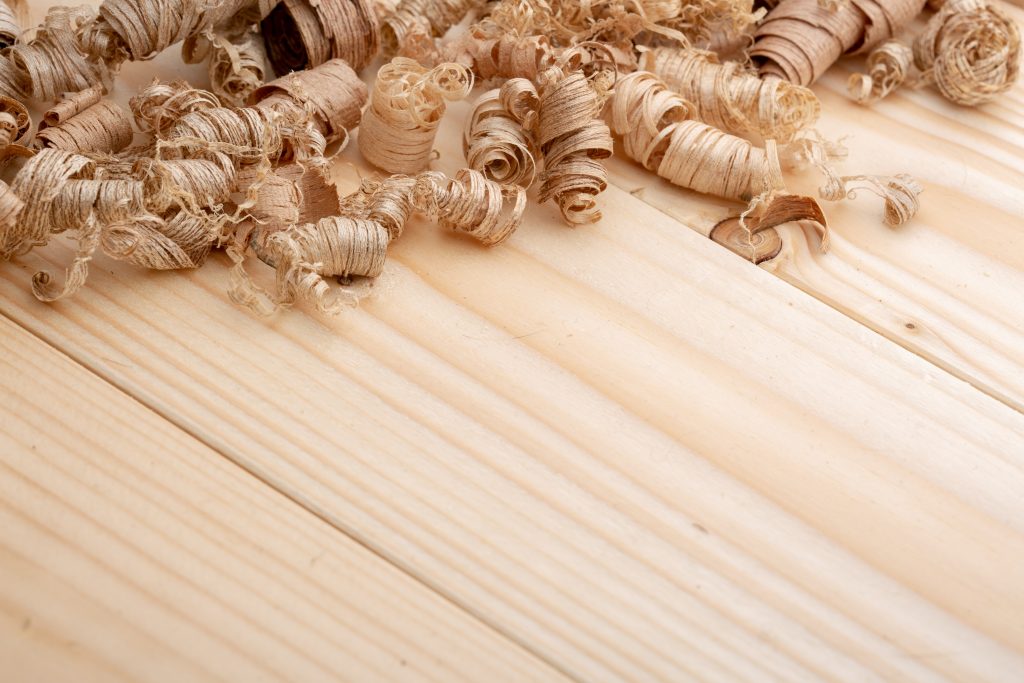
Step 5 - Peeling
Once the logs have been cut, it’s finally time to peel them down to size. For this segment of the process on how timber veneers are made, manufacturers are likely to use any of the three following pieces of machinery:
- Rotary lathes – a peeling machine that turns wood against a sharp rotating blade to cut slices in a continuous roll. Rotary lathes are most likely to be used when producing plywood sheets, as veneers are cut concentric to wood growth rings.
- Half round lathes – a machine that turns wood in different directions to find the most interesting or visually textured parts of the wood grain. These peeling machines are used to produce dynamic ‘rift cuts’, where sliced wood showcases a comb effect. Half round loathes are commonly used to produce veneers.
- Slicing machines – a straight blade that cuts uniformly through wood materials to create timber veneers that look like sawn pieces of wood. These straight cuts are called flat slices.
The size to which logs have been cut can also influence what veneer cuts you end up producing, whether it’ll be quarter cut or crown cut veneers. For instance, logs cut into halves are typically used to produce crown cut veneers, where the half log is then sliced directly across, so the final slice is parallel to the centre of the log and tangential to the log’s growth rings. This produces a stronger, more dynamic grain pattern with a cathedral or crown-like appearance. Contrastingly, quarter pieces are used to make quarter cut veneers, where veneers are sliced or peeled at right angles to the log’s growth rings.
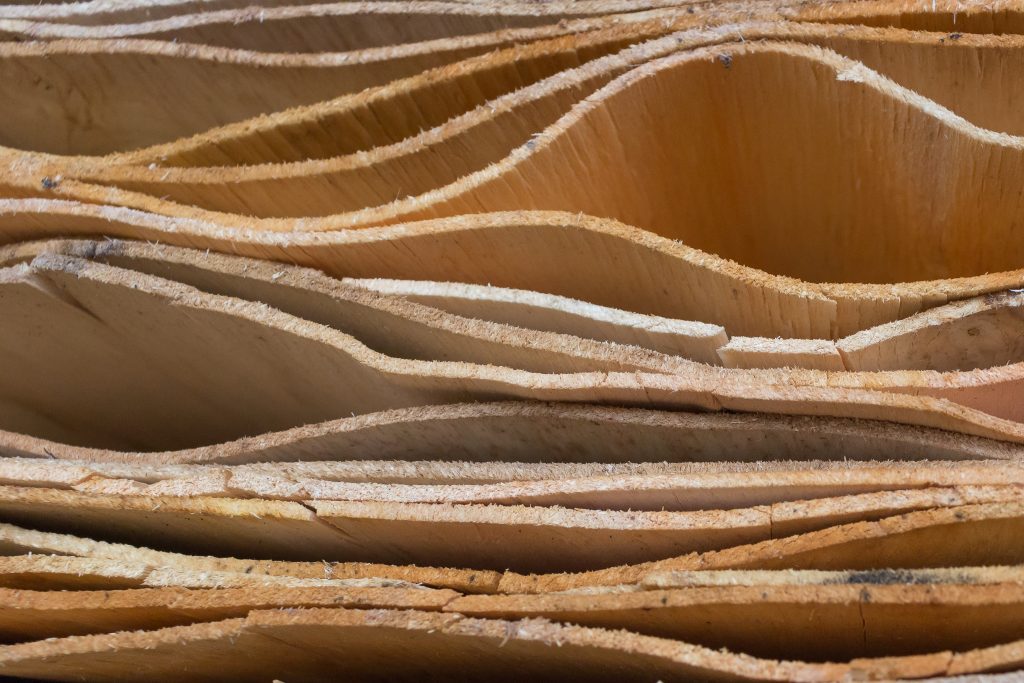
Step 6 - Drying and Stacking
At this phase in the process of how timber veneers are made, the freshly produced veneer slices must now be sent to the dryer, where they will be rapidly dried by being exposed to temperatures of around 160℃. This is to ensure that veneers will dry flat and evenly.
It’s important to note that this phase of the process isn’t designed to dry out your timber veneers completely, as this will risk your veneers becoming overly brittle. Instead, veneer manufacturers like to leave 10% of moisture in their products following the drying process.
Once they’re removed from the dryer, the dried timber veneers are then stacked according to their wood classifications. At this stage, your veneers have officially been produced, and are all ready to be clipped and spliced (i.e. processed into plywood of varying plywood grades), or packaged and distributed to wood suppliers.
Where to Buy Timber Veneers
If you are looking to know what is timber veneers or you’re looking for high-quality timber veneers, then we must recommend that you explore our full range of veneers and other products right here at Cabinet Timbers. We stock a wide collection of timber veneers, plywood sheets, and other wood products like MDF board – all sourced from sustainably managed forests.
And If you’re looking to learn more about how timber veneers are made, simply contact us today or speak to our experts. You can reach us by calling (03) 8353 2222 or by completing our contact form online. Our specialists are always here to offer their expert eye and advice to ensure that you’re selecting the right timber veneers and other materials for your next construction or woodworking project.
NEED BUILDING SUPPLIES?
No stress, we're here to help. Fill out the form below for a free quote and consultation with our experts.