Today, top-grade timber veneers are being used to produce a wide range of commercial wood products, ranging from cabinetry, wall panelling to furniture. As a result, it’s becoming increasingly common to stumble upon veneer furnishings, doors, frames, walls, and other veneer products that could do with a little refreshing.
Chances are that you currently have at least one or two timber veneer products in your own home that could do with a fresh lick of paint. So, you’ll most likely ask how to paint timber veneers? That’s precisely the question that our timber specialists here at Cabinet Timbers will be answering for you today.
If you do have a veneer surface or furniture piece that could do with a new coat of paint and are looking to complete this DIY task in the near future, then this step-by-step guide on how to paint timber veneers will definitely be a great resource for you, so be sure to bookmark it in the lead-up to your timber veneer painting project.
No stress, we're here to help. Fill out the form below for a free quote and consultation with our experts.
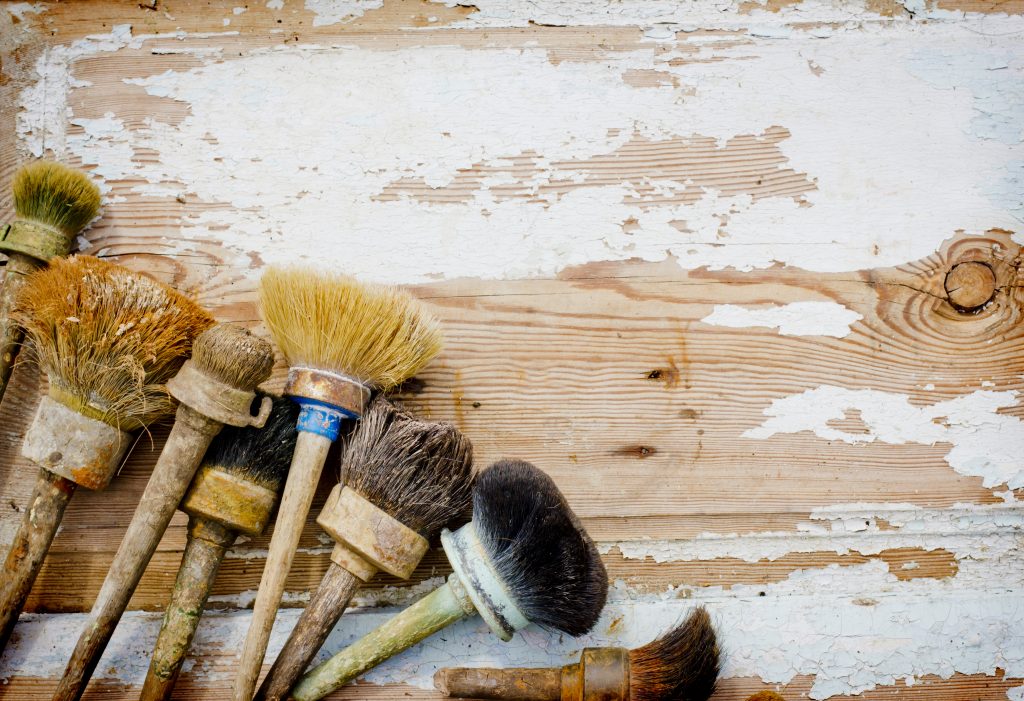
Before you get started with prepping your timber veneers for painting, you’ll first need to make sure you have all the right tools on hand. Here’s what you’ll need to ensure when going through the steps on how to paint timber veneers, so that the job goes smoothly as possible:
Truth be told, painting timber veneers isn’t too different to the process of painting plywood. There are just some minor preparatory steps you’ll need to take, especially if you’re working with old veneer furniture or fixtures.
The step-by-step guide on how to paint timber veneers entails:
Before you begin the step-by-step process we’ve outlined below, you should first make sure that your timber veneers are ready to be painted. If you’re working with veneer furniture, this means unscrewing any fixtures like handles or hinges and their accompanying screws.
You should also lay down a plastic tarp to protect your surfaces from paint during the painting process, as well as applying painters tape. This can also be done after the application of wood filler and sanding down your veneers, if this step is required.
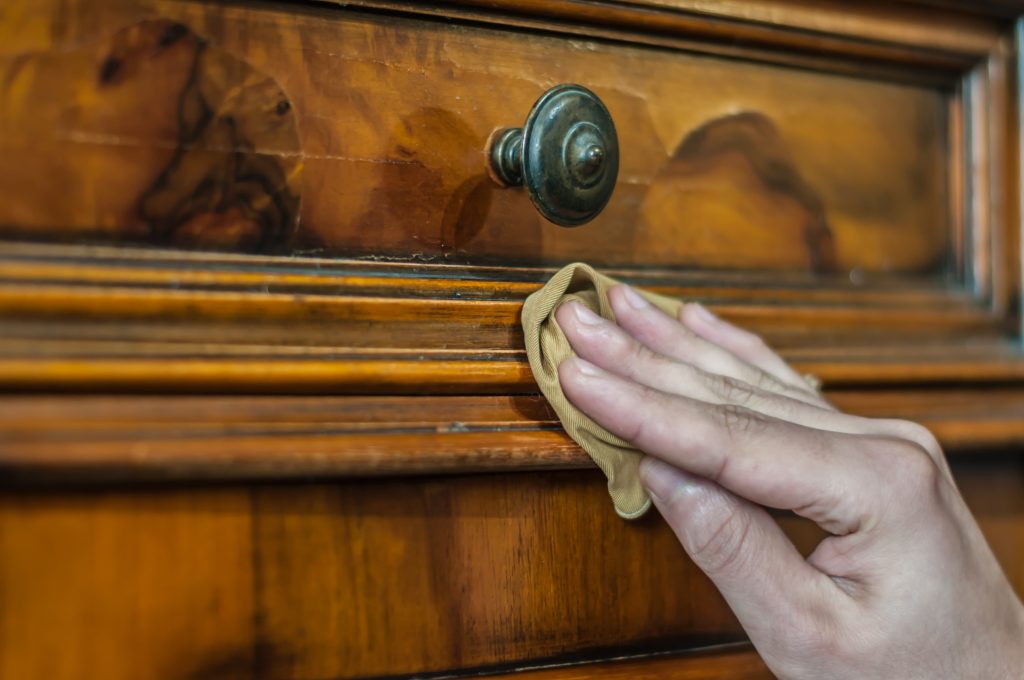
The first step on the process of how to paint timber veneers is to clean your surface and ensure that it’s prepared for the application of your primer coat. For old veneer furniture, this means going over your timber veneers with a degreasing agent and wiping the surfaces down with a clean, microfibre cloth to dry. It’ll also serve you well to get a better understanding of how timber veneers were made, to help while you are painting timber veneers.
Once your timber veneers have been cleaned, it’s time to correct any dents, cracks, exposed nails, or other flaws that are currently present on the surface of your veneers. This is best done by carefully removing any obstructions before filling holes and crevices with a wood filler.
Once your wood filler has been applied, use your filling blade to carefully smooth down your filler, before leaving it to dry or set overnight or as recommended by your filler manufacturer. Once your filler has set, reassess your veneers to check for any more gaps and then apply a second round of filler if required. This reassessment is vital as wood filler can shrink as it dries, so chances are you may need to apply a second round of filler for veneers with particularly big cracks, dents, or holes.
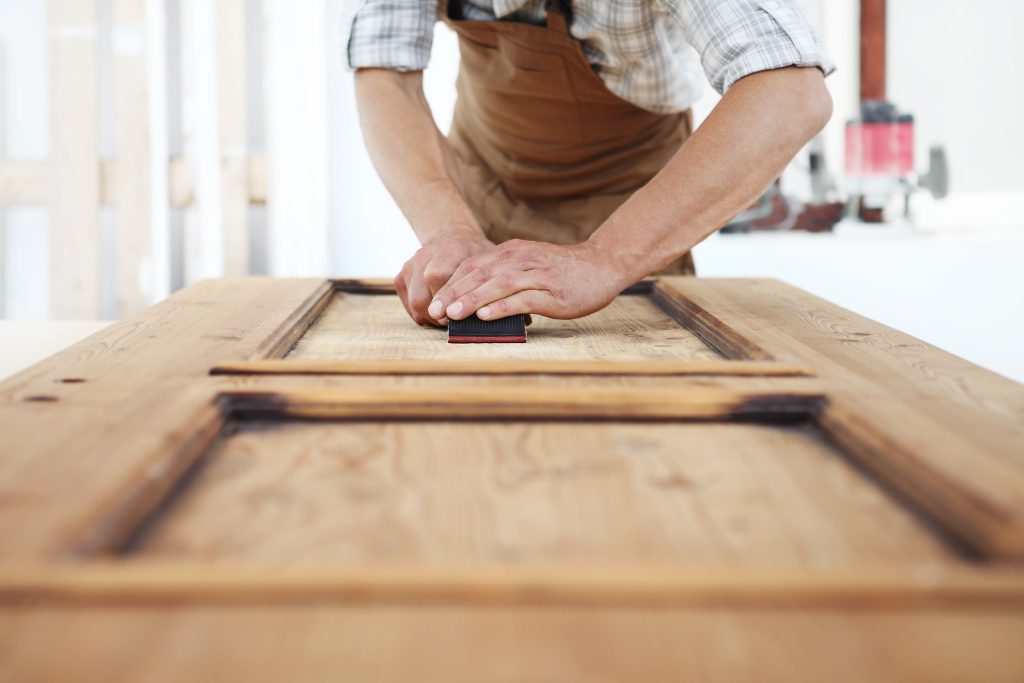
After your filler has dried and no additional filler is required, it’s time to sand down your veneers to ensure that they have a uniform surface.Using finer sandpaper is recommended here as the finer the sandpaper, the lower the risk of causing excess abrasion to your veneer surfaces. Remember that unlike plywood, timber veneers are a lot thinner, and excess sanding may reveal the substrate surface below your veneer. So sand very carefully, and dust or wipe down your veneers just as carefully when you’re done!
Now that your timber veneers have been sanded down and the painting surface is consistently smooth, it’s finally time to apply your first coat of paint, this being your paint primer. Applying a primer coat is essential as it will reduce the risks of your natural timber colour impacting the final colour of your painting job. With a primer coat added, you can ensure that your paint colours appear just as advertised on their tin.
Once your paint primer has been applied and has dried, it’s finally time to apply your first coat of paint. You can do so in just the same way you applied your primer: in thin layers and with the wood grain to ensure your coats stay nice and even.
Be sure to apply your primer and all other paint coats along the direction of your wood grain to reduce your risk of accruing bumps or lumps along the way. And a pro tip just in case you do accrue any lumps and bumps: go over them again with sandpaper after they’ve dried and before you apply your next coat of paint.
Once all your paint coats have dried and you’re satisfied that they’re nice and even, it’s time to seal your paint job to ensure that your painted timber veneers aren’t exposed to dust or other contaminants that may degrade their newly painted surface. Don’t forget to apply varnish or sealants to the edges of your timber veneers too.
With your wood varnish and sealants thoroughly applied, you can ensure that your painted timber veneers can maintain their finish for a longer period of time. This is an absolute must for veneer furniture or veneer fixtures that are used often or are in high-traffic areas.
If the idea of decorating your home or office space with painted timber veneers does appeal to you greatly, but you don’t want to take on the additional labour of painting your veneers independently, then there are some wood panel products you may opt to invest in instead.
One of our top recommendations for great alternatives to painted timber veneers has to be our prefinished plywood panels. With their lighter construction and brighter appearance, these plywood panels are ideal for use in interior spaces, namely to be installed as internal walls and ceilings.
There are also a variety of other panel products available on the market today . A good example here is COLOURpyne® decorative melamine board, a scratch-resistant and heat-resistant resin board that’s a great alternative to painted timber veneers.
Have any other questions about what are timber veneers or how to paint timber veneers, or any of our wood products on offer here at Cabinet Timbers? Then contact our team at Cabinet Timbers via our online enquiry form or by calling (03) 8353 2222 today.